Looking to protect your home from carpenter bees? Making a DIY carpenter bees trap is a simple and effective way. These pests can damage wooden structures, so controlling them is key. This guide will show you how to make a homemade bee trap. You’ll learn to protect your property and feel proud of your DIY work.

Key Takeaways
- Learn how to build a DIY carpenter bees trap easily.
- Understand the importance of carpenter bee control for your home.
- Gain insights into signs of carpenter bee infestation.
- Discover materials needed to create your trap.
- Explore optimal placements for trap effectiveness.
- Monitor your trap regularly to maintain its efficiency.
- Consider alternatives if DIY solutions are not suitable.
Understanding Carpenter Bees
Carpenter bees are important in our ecosystem but can worry homeowners. Knowing their looks and habits helps us manage them better. This knowledge helps us understand how they might harm our wooden homes.
What Are Carpenter Bees?
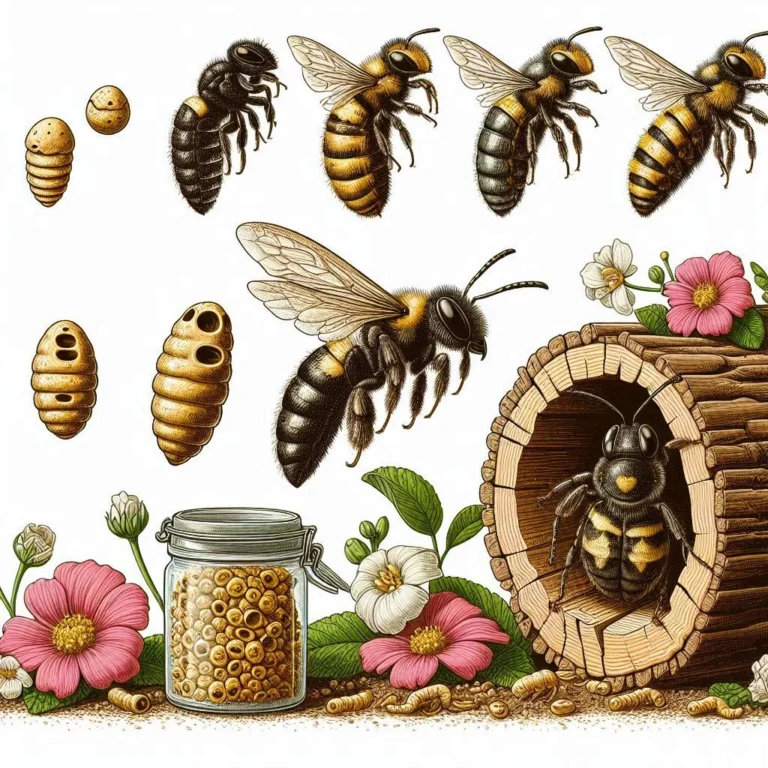
Carpenter bees are big and strong, looking like bumblebees. But they have shiny bellies without hair, making them poor at pollen. They are known for boring into wood, like decks and siding, to make homes for their young.
Their insect behavior is fascinating. They tunnel into wood to create a space for their eggs.
Common Signs of Infestation
Spotting carpenter bees is key to acting fast. Look out for these signs:
- Perfectly round holes in wood, about the size of a dime.
- Sawdust or frass (wood shavings) near these holes.
- Buzzing sounds, often mistaken for bumblebees.
- Adult bees flying around possible nesting spots.
Seeing these signs early helps homeowners fix problems before they get worse.
Why You Need a Trap
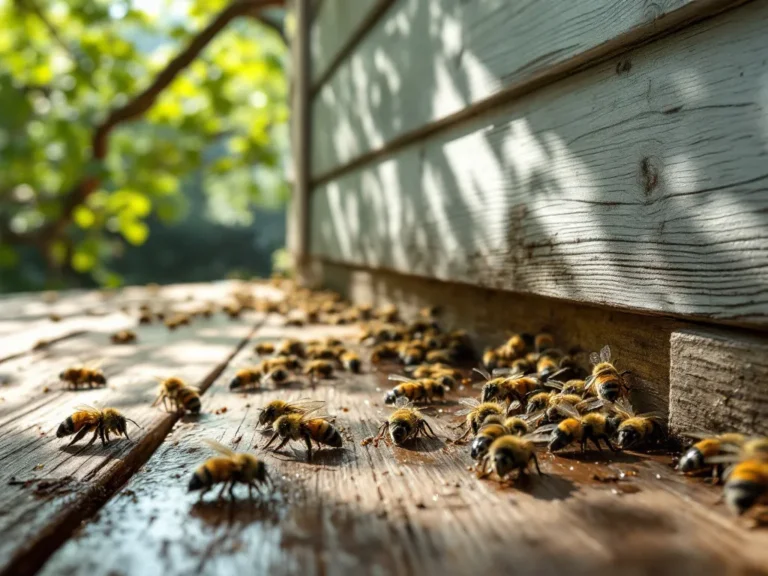
Carpenter bees are a big problem for wooden structures. They burrow into wood, causing serious damage over time. This damage often happens in places like porches, decks, and walls.
As they dig, they weaken the wood. This can lead to expensive repairs. Also, woodpeckers might come to the area, making things worse by drilling more holes.
The Damage Caused by Carpenter Bees
Carpenter bees do more than just look bad. They make deep tunnels that can be several feet long. This is a big problem because it:
- Weaks the structure
- Can cause mold because the wood holds moisture
- Attracts other pests to the damaged area
Benefits of Using a DIY Trap
Building a DIY carpenter bee trap is a smart way to deal with these pests. It lets homeowners take action to stop the damage. The benefits are:
- Cost-effectiveness: Making your own trap saves money compared to buying one.
- Eco-friendliness: It’s better for the environment because it doesn’t use harmful chemicals.
- Engagement in solution: It lets you take charge of your pest problem.
- Reduction of pest population: A good trap can catch carpenter bees, reducing damage.
Materials Needed for Your Trap
To make a good carpenter bee trap, you need to pick the right materials and tools. The right stuff makes building easier and makes the trap work better. Knowing what tools you need and where to find them helps a lot.
Essential Tools and Supplies
Here’s what you’ll need to build a carpenter bee trap:
- Untreated wood
- Drill
- Wood screws
- Saw
- Measuring tape
- Paintbrush
- Non-toxic wood stains or paints
These DIY tools and trap construction supplies are key for a good trap. Using untreated wood keeps the bees safe from harmful chemicals.
Where to Source Your Materials
Finding what you need is easy. You can get materials from:
- Local hardware stores
- Lumberyards
- Online retailers
Make sure to choose untreated wood to keep the bees safe. Look for good reviews to find the best materials. Getting the right materials is crucial for a successful trap.
DIY Carpenter Bees Trap: Simple Steps to Build
Building a carpenter bee trap is a fun DIY project. It helps protect your home from wood-boring pests. Follow these steps to make an effective trap quickly and easily.
Step-by-Step Instructions
First, get the materials and tools you need. Here’s how to build your trap:
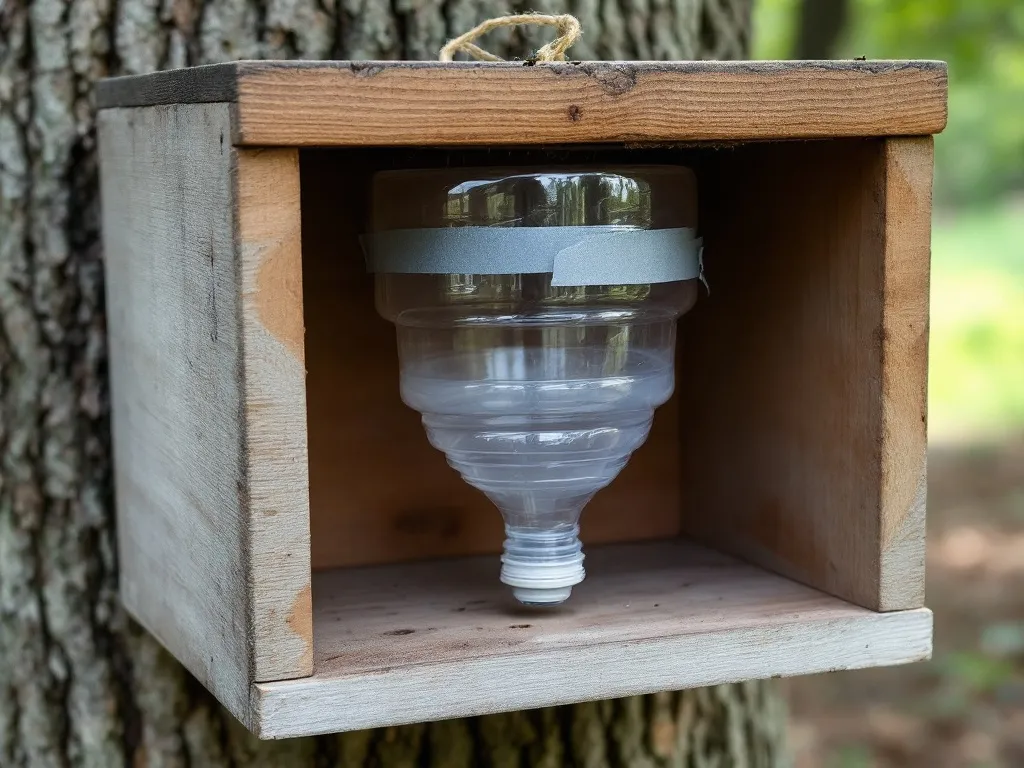
- Measure and cut your wood pieces: Use durable wood like pine or cedar. Measure for the body, base, and roof.
- Assemble the body of the trap: Attach the vertical pieces to the base with nails or screws. Make sure it fits well.
- Create entry holes: Drill small holes on two sides of the trap. They should be 1-2 inches in diameter.
- Assemble the roof: Put on the roof pieces after the body is built. A roof that overhangs will keep water out.
- Apply a bait: Mix sugar water or fruit juice to attract bees. Place it at the bottom of the trap.
- Finish with a protective coat: Use a non-toxic sealant on the outside. Your trap is now ready.
Safety Precautions to Consider
Always prioritize safety when doing DIY projects. Here are some tips:
- Wear safety goggles to protect your eyes.
- Use gloves to shield your hands from splinters.
- Keep your workspace clean and organized to avoid accidents.
- Use ear protection when using power tools.
- Have a first aid kit nearby for any minor injuries.
By following these safety tips, you can enjoy building your carpenter bee trap. Stay safe and have fun!
Choosing the Right Location for Your Trap
Choosing the right spot for your trap is key to catching carpenter bees. Place traps near where they nest or fly. Hang them three to six feet up to look like natural nesting sites.
Optimal Placement Guidelines
Here are some tips for placing traps effectively:
- Find spots where carpenter bees often go.
- Put traps high up to catch fewer non-target species.
- Traps in the sun attract more bees.
- Keep traps away from where people walk to avoid disturbing them.
Factors to Consider for Effective Trapping
Several things can help your trap catch more carpenter bees:
- Sunlight exposure: Traps in the sun attract more bees.
- Proximity to flowering plants: Bees are drawn to nectar, making traps more visible.
- Environmental considerations: Weather can change bee activity, affecting the best times to trap.
Monitoring and Maintaining Your Trap
It’s important to regularly check your DIY carpenter bee trap. Homeowners should do this to see how well it’s catching bees. This helps in making sure the trap is working right and catching more bees.
How to Check for Captured Bees
Check your traps once a week, especially from spring to early summer. Look for how many bees are caught. If the number of bees doesn’t go up, try moving the trap or changing the bait. Keep track of how many bees you catch to see if your trap is working.
Tips for Maintaining Trap Efficiency
To keep your trap efficient, clean it often by removing caught bees. Not cleaning it can make it smell bad and scare away bees. Also, put out new attractants regularly to keep the trap appealing. These steps can help you catch more bees all season long.

| Monitoring Frequency | Best Times to Check | Actions to Take |
|---|---|---|
| Weekly | Spring through Early Summer | Document captured bees |
| After Heavy Rain | After Rainy Days | Inspect and clean traps |
| Monthly | Mid-Summer | Reapply attractants |
Alternatives to DIY Carpenter Bees Traps
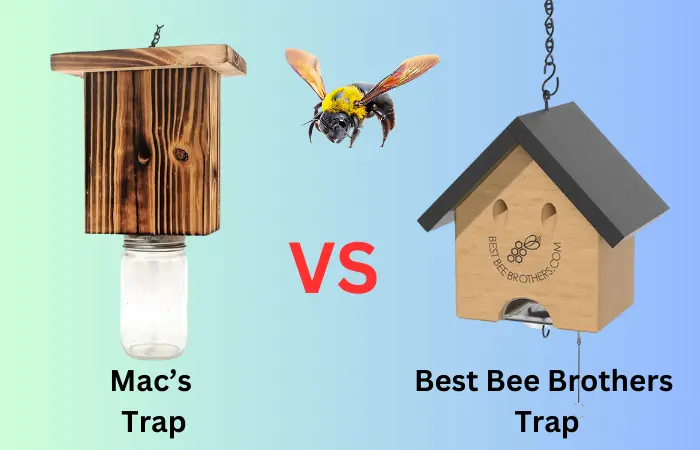
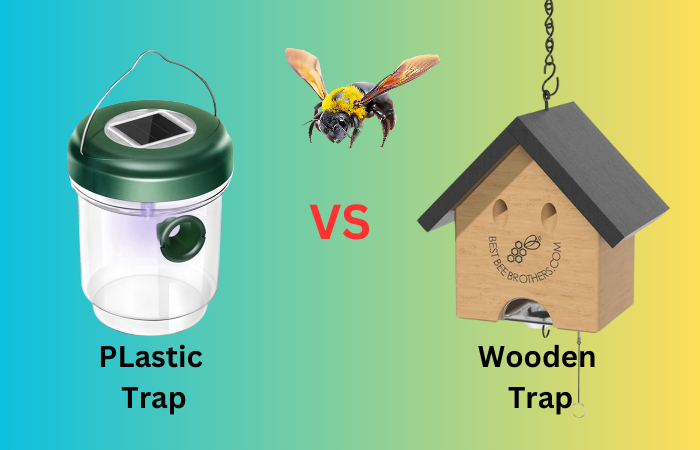
Some people might not want to build their own traps. There are effective commercial carpenter bee traps available. These store-bought solutions are ready to use and can work fast. Products like Rescue! and Bluebird have gotten good reviews for fighting carpenter bees.
Commercial Trap Options
For those who want to buy traps, here are some choices:
- Rescue! Carpenter Bee Trap: It’s easy to use and works well.
- Bluebird Carpenter Bee Trap: It looks good and works well, making your outdoor space better while keeping pests away.
- DIY-Style Traps: Some brands offer kits for those who want a mix of DIY and ready-made.
Natural Repellent Solutions
Natural remedies can help traps work better. Homeowners might find that using natural bee repellents works. Ingredients like:
- Peppermint Oil: Its strong scent keeps carpenter bees away.
- Cinnamon: It’s another natural way to keep bees from coming back.
- Citrus: Spraying citrus solutions around nests can help bees move on.
Common Mistakes to Avoid When Using a Trap
Using a bee trap right means knowing what not to do. Many people make mistakes that make traps less effective. By avoiding these errors, you can catch more carpenter bees.
Typical Errors That Reduce Effectiveness
There are a few common mistakes that can lower your trap’s success. Here are some to watch out for:
- Placing traps too low, which can prevent them from effectively capturing flying bees.
- Installing traps in poorly lit areas, as bees are less likely to be attracted.
- Neglecting to monitor traps regularly, which leads to missed opportunities to catch carpenter bees.
- Using improper lure types or scents that do not attract carpenter bees effectively.
How to Troubleshoot Ineffective Traps
If your traps aren’t catching bees, it’s time to fix the problem. Try these changes to improve your trap’s performance:
- Reassess the placement of the trap. Ensure it is at an optimal height and in a well-lit location.
- Experiment with different types of lures or scents to see what works best.
- Regularly check and clean traps to keep them functional and appealing.
- Make adjustments based on the specific behaviors of carpenter bees in your area.

Conclusion
Knowing how carpenter bees act is crucial for managing them. Homeowners can lessen damage risks by taking early action. The DIY carpenter bees trap mentioned here is a simple yet effective way to fight infestations.
Early action is essential, as shown in the article. By setting up a trap and keeping up with maintenance, you can see good results. This method not only keeps your home safe but also helps you learn how to handle other pests.
In short, using the right traps and prevention can help homeowners fight carpenter bees. With the right knowledge and tools, you can protect your home and keep it pest-free for a long time.
FAQ
What are the most effective methods for carpenter bee control?
To control carpenter bees, you can build a DIY trap, use commercial traps, or apply natural repellents. These methods help lower their numbers and prevent damage to your home.
How can I identify a carpenter bee infestation?
Look for round holes in wood, sawdust, buzzing sounds, and bees around wood. Spotting these signs early helps you act fast.
What materials do I need to build a DIY carpenter bee trap?
You’ll need untreated wood, a drill, screws, a saw, and measuring tape. Also, get a paintbrush and non-toxic stains or paints to attract bees. Make sure you have the right tools.
How often should I check my DIY trap for captured bees?
Check your trap at least once a week during the active season. This is usually from spring to early summer. It helps you see if the trap is working well.
What are the benefits of using a DIY trap over commercial traps?
DIY traps are cheaper, eco-friendly, and let you tailor a solution to your needs. They can be as effective as commercial traps and offer a fun DIY project.
Where is the best location to place my carpenter bee trap?
Place your trap near where carpenter bees nest or fly. Hang it three to six feet up in a sunny spot. This mimics their natural nesting sites.
What should I do if my trap isn’t capturing any bees?
Check if your trap is in the right spot. Make sure it’s at the right height and in a sunny area. Try different lures or scents to attract them.
Are there natural remedies that can deter carpenter bees?
Yes, peppermint oil, cinnamon, and citrus can keep carpenter bees away. Spray these around nesting areas to encourage them to leave.
What safety precautions should I consider while building a trap?
Wear safety goggles, gloves, and ear protection when using tools. Keep your workspace clean to avoid accidents. Have a first aid kit ready for any minor injuries.

