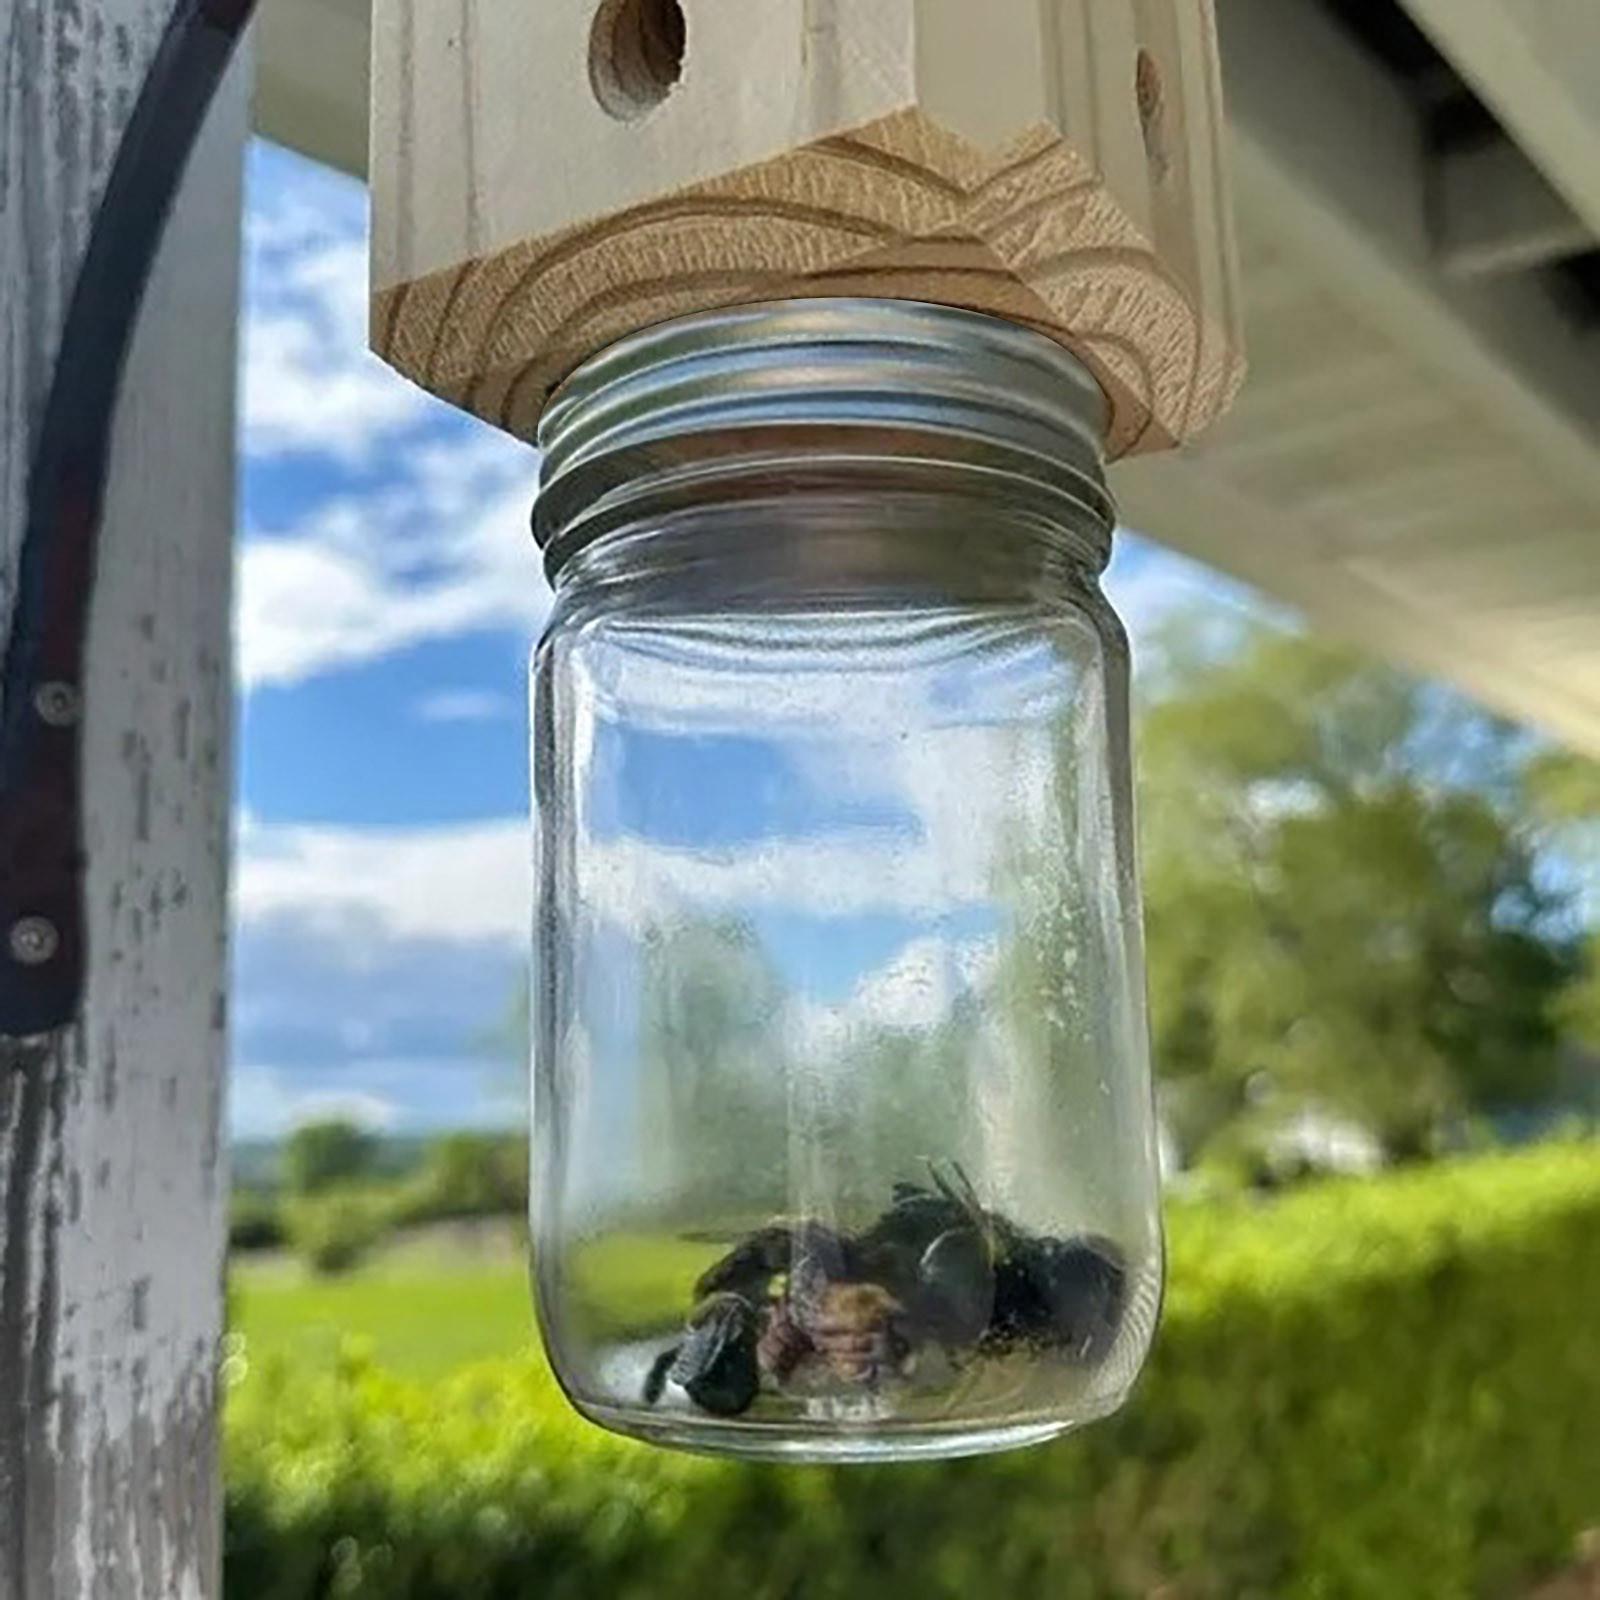
Are carpenter bees wreaking havoc on your wooden deck, fence, or siding? Don’t let these little pests ruin your home! Fortunately, you don’t have to resort to harmful chemicals or expensive professional services to keep them at bay. With some basic materials and this simple DIY guide, you can build an efficient carpenter bee trap in no time.
In this post, we’ll show you how to make a carpenter bee trap step-by-step, with a helpful video demonstration to guide you through the process. Whether you’re a DIY enthusiast or simply looking for an eco-friendly solution, our guide will help you build an effective trap to protect your wooden structures.
Why Do You Need a Carpenter Bee Trap ?
Carpenter bees love to tunnel into wood, especially untreated, unpainted wood on the exterior of homes, decks, and fences. While they don’t eat the wood like termites, their burrowing can weaken the structure over time. Over the years, this damage can become costly to repair.
Instead of letting the bees wreak havoc, building your own carpenter bee trap offers an eco-friendly and non-toxic way to manage the problem. Here’s why you should opt for a DIY trap:
- Cost-effective: A few basic materials can save you from expensive repairs or professional pest control services.
- Safe for the environment: No need for harmful chemicals or pesticides that can disrupt your garden’s ecosystem.
- Easy to maintain: Once you build your trap, it’s simple to use and requires little maintenance.
Materials You’ll Need
Before we get started, gather the following materials. Most of these can be found at your local hardware store:
- A block of untreated softwood (pine works well)
- A plastic or a glass bottle with a small opening .
- A drill with a 1/2-inch bit
- Wood glue
- Screws
- A saw
Optional: If you’d like your trap to blend in with your home’s exterior, you can also pick up some paint or stain.
Step-by-Step Guide to Building a Carpenter Bee Trap
Here’s where the fun begins! Follow the steps below to create your carpenter bee trap. For those who prefer a visual guide, be sure to watch our video tutorial embedded below.
Cutting the Wood Block
Cut your block of wood into a square or rectangular shape. This block will serve as the main structure of your trap. Carpenter bees are attracted to softwoods, so choose untreated wood.
Drilling the Entrance Holes
Using a 1/2-inch bit, drill angled holes into the sides of the wooden block. Aim for a 45-degree angle, as carpenter bees prefer nesting in slanted tunnels. Make sure the holes are deep but don’t go all the way through the wood.
Creating the Exit Trap
At the bottom of the block, drill a hole large enough to fit the neck of your plastic bottle. This bottle will act as a collection chamber for trapped bees. Use wood glue to secure the bottle in place.
Finishing Touches
Once your trap is assembled, you can paint or stain the wood to help it blend in with its surroundings. This isn’t necessary for functionality but can help keep your outdoor areas looking tidy.
Placement
Now that your trap is complete, it’s time to hang it! Carpenter bees are attracted to sunny areas with exposed wood, so place your trap near places where you’ve seen bee activity—like the eaves of your roof or on your deck. Hang it with a sturdy wire, making sure it’s secure.
>>> Here is a DIY Carpenter Bee Trap Tutorial from The Saw Dust Dude
Why This DIY Trap Works ?
Carpenter bees are naturally attracted to untreated wood, and the angled holes mimic their preferred nesting sites. Once they enter the trap, they move toward the light at the bottom, where the plastic bottle is. This simple yet effective design captures them without harming the bees, allowing for a more humane approach to pest control.
Frequently Asked Questions
What is the best time to set up a carpenter bee trap?
The best time to set up your carpenter bee trap is in early spring when bees start emerging to look for nesting sites.
Will this trap harm the bees?
No, this trap is designed to capture the bees without using harmful chemicals, making it a safe and eco-friendly option.
How often should I empty the trap?
Check the trap every few weeks during the active season (spring and summer) and empty it as needed.
Can I use this trap indoors?
No, this trap is designed for outdoor use only, as carpenter bees typically nest in exterior wooden structures.
Do I need any prior DIY experience to build this trap?
Not at all! This project is beginner-friendly and only requires basic tools and materials.
Final Toughts
By building your own carpenter bee trap, you’re taking a proactive and eco-conscious step toward protecting your home. It’s a simple, cost-effective solution that anyone can make, and with our step-by-step guide and video, you’ll have your trap ready in no time. Don’t wait until it’s too late—start building your carpenter bee trap today and keep your home safe from wood damage!

