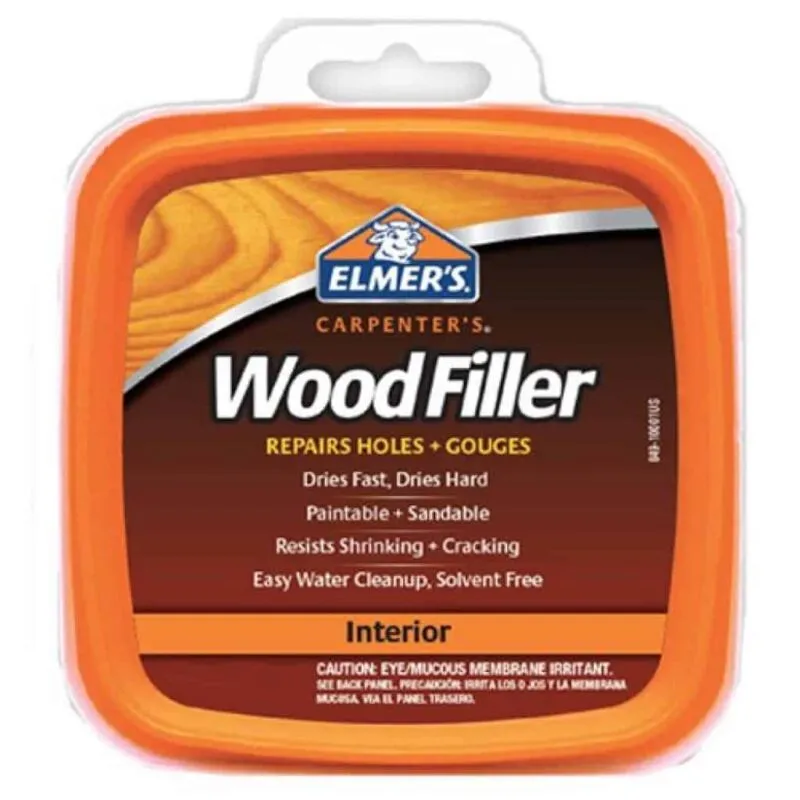
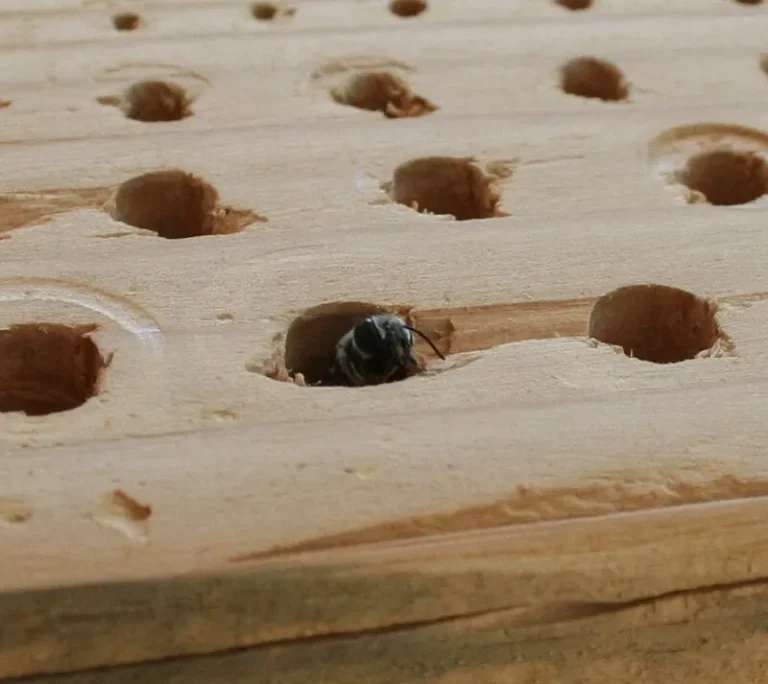
Carpenter bees, known for their habit of boring into wood to create nesting sites, can cause significant damage to wooden structures around your home. One effective method to repair and prevent further damage is using carpenter bee hole fillers. This article will delve into the types of fillers available, their application process, and tips for effective repair.
Why Use Carpenter Bee Hole Filler?
Using a hole filler is crucial for several reasons:
- Prevent Further Damage: Sealing holes prevents bees from returning to the same site.
- Maintain Structural Integrity: Filling holes helps maintain the strength of wooden structures.
- Improve Aesthetics: Properly filled holes restore the appearance of wood surfaces.
Types of Carpenter Bee Hole Fillers
1. Wood Putty

Wood putty is a popular choice for filling carpenter bee holes due to its ease of use and effectiveness.
- Features: Available in various colors to match different wood types, wood putty is easy to apply and sand once dry.
- Pros: Dries quickly, blends well with wood, and provides a smooth finish.
- Cons: Not suitable for structural repairs; best for cosmetic fixes.
2. Epoxy Filler
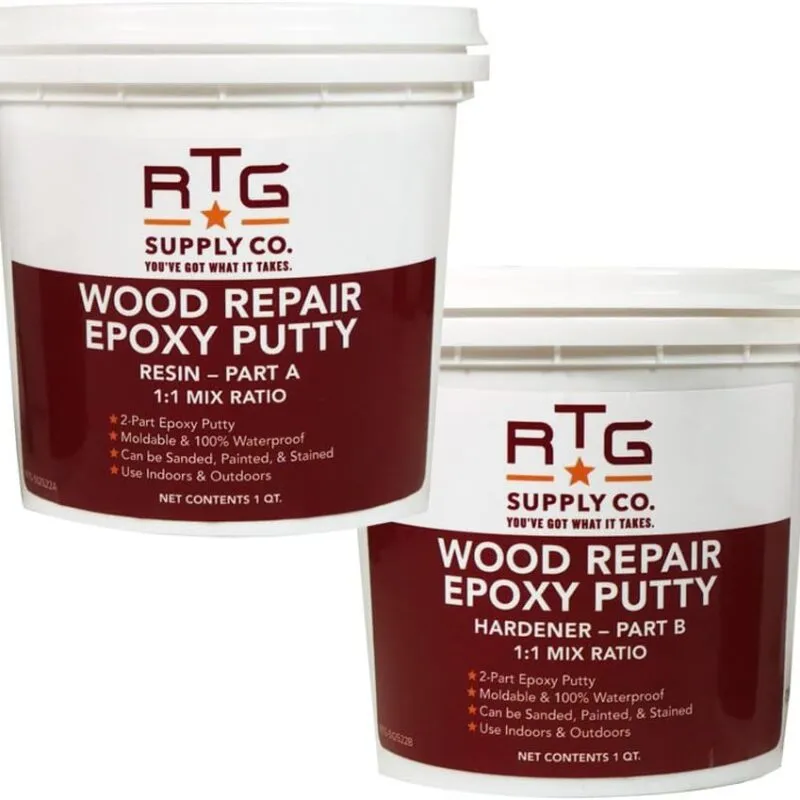
Epoxy fillers are a more robust option for repairing significant damage caused by carpenter bees.
- Features: Two-part system that creates a durable, long-lasting repair.
- Pros: Extremely strong, resistant to moisture and further insect damage.
- Cons: More expensive and requires careful mixing and application.
3. Wood Filler
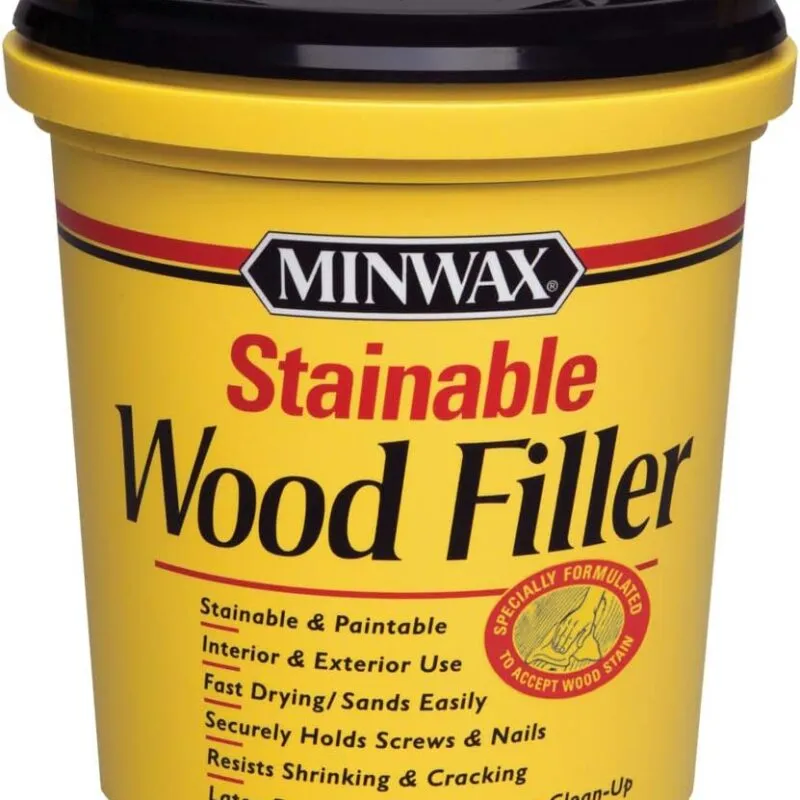
Wood filler, similar to wood putty, is another effective option for smaller holes and surface damage.
- Features: Often comes in a pre-mixed form and is easy to apply with a putty knife.
- Pros: Dries hard, easy to sand and paint over, good for minor to moderate damage.
- Cons: May shrink slightly as it dries, requiring multiple applications.
4. Caulk
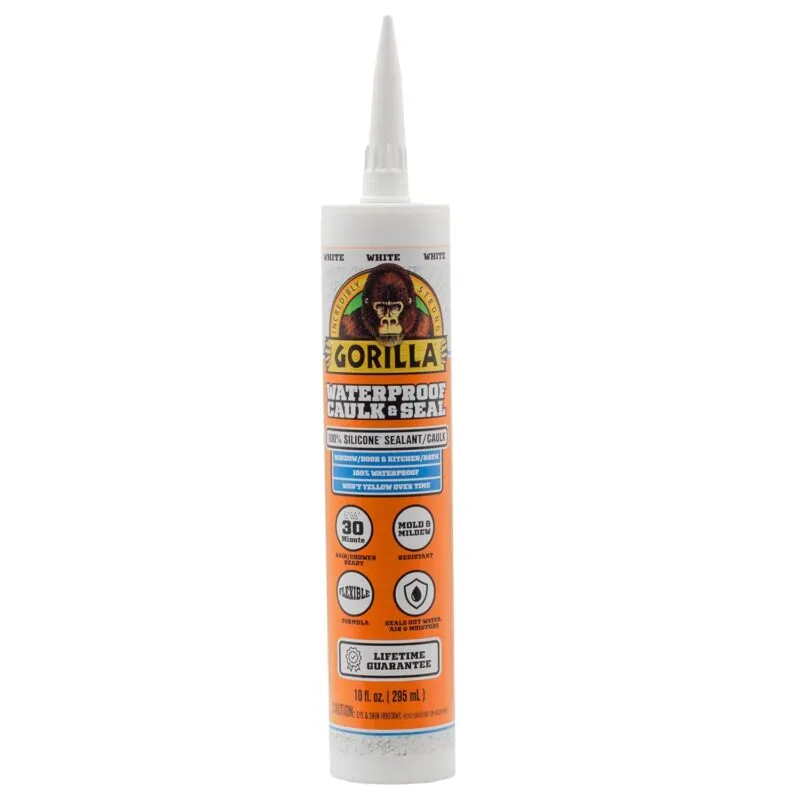
Caulk is a flexible filler that can be used to fill carpenter bee holes, especially in areas where slight movement is expected.
- Features: Comes in tubes and is applied using a caulking gun.
- Pros: Flexible, weather-resistant, and easy to paint over.
- Cons: Not as durable as wood or epoxy fillers, best for smaller holes.
How to Use Carpenter Bee Hole Fillers
Step-by-Step Guide
- Clean the Hole: Remove any debris, dirt, or frass (wood shavings) from the hole using a brush or compressed air.
- Treat for Pests: Before filling, ensure no bees or larvae remain inside. Use an insecticide dust to treat the hole if necessary.
- Select the Filler: Choose the appropriate filler based on the size of the hole and the type of wood.
- Apply the Filler:
- Wood Putty/Wood Filler: Press the filler into the hole using a putty knife, ensuring it fills completely.
- Epoxy Filler: Mix according to the manufacturer’s instructions and apply with a putty knife.
- Caulk: Apply with a caulking gun, overfilling slightly to allow for shrinkage.
- Smooth the Surface: Use a putty knife or your finger to smooth the surface of the filler, ensuring it is flush with the surrounding wood.
- Allow to Dry: Let the filler dry completely according to the manufacturer’s instructions.
- Sand the Area: Once dry, sand the filled area until smooth and level with the surrounding surface.
- Paint or Stain: To match the rest of the wood, paint or stain the repaired area as needed.
Tips for Effective Repair
- Use Matching Filler: For best aesthetic results, choose a filler that closely matches the color of the wood.
- Seal After Filling: After filling and sanding, seal the wood with paint or varnish to protect against future infestations.
- Monitor for Activity: Regularly inspect the repaired areas for signs of new carpenter bee activity and treat as needed.
Final Toughts
Repairing carpenter bee damage is essential for maintaining the integrity and appearance of your wooden structures. By using the appropriate hole fillers and following the correct application steps, you can effectively manage and prevent further damage from these pests. Regular maintenance and monitoring will ensure your home remains protected from carpenter bee infestations.

